About the Source Add Virus
Usually, what online users find the most annoying about browsing the Internet is the inevitable swarming with ads of their browser screens as there are thousands of sites out there that aggressively try to shove as many ads down people’s throats as possible in order to make money from them. Of course, you can avoid most of the advertisements if you try not to visit sites that have too many of them and also if you make sure to add an ad-blocker to your Safari, Chrome, Firefox or any other browser you normally use to go on the Internet. The real problem, however, comes when the ads, the banners and the page-redirects keep on flooding your browser even when you aren’t on sites that tend to be aggressive with their marketing tactics. If, in addition to that, your browser’s homepage address, search engine tool, toolbar buttons as well as some other components of your browser have received changes that you did not approve or have been outright replaced, then you need to know that you may actually have what is called a browser hijacker within your browsing program. The browser hijacker applications like Search Marquis, Number One Vpn are aggressive tools of online marketing and advertisement and though they may oftentimes resemble friendly browser add-ons, their real purpose is to ensure that you get exposed to as much advertising content as possible. The idea is that the more ads and page-redirect links you click on, the more money the creators of the invasive app would earn. Of course, such activity in your browser is bound to make your web experience quite unpleasant, not to mention that there could also be certain hidden hazards that we will mention a bit later. Source Add is one of the more recent pieces of software that fall under the category of the hijacker apps and in case you have it in your browser right now, you may want to try out the next instructions and removal tool in order to get rid of the hijacker.
Apps like Source Add may be unsafe
While this isn’t a threatening program like a virus or Ransomware or maybe a Trojan, the hijacker is also not a trustworthy software piece because it doesn’t really give you the opportunity to disable its add-generating and page-redirecting service or the option to at least choose what ads to receive and what ads to keep away from your browser. And what this basically means is you can get exposed to various questionable and maybe even hazardous or unsafe links, banners and commercial messages that could potentially compromise the safety of your computer should you click on them. That is why we must warn you not to interact with any of the advertisements even if it is only to close them because they are being annoying. The best way to stop all this is to remove the hijacker and the way you could do that has been shown in the guide that we have already given you on this page.
SUMMARY:
| Name | Source Add |
| Type | Browser Hijacker |
| Danger Level | Medium (nowhere near threats like Ransomware, but still a security risk) |
| Symptoms | The visible symptoms normally include some form of browsing disturbance. |
| Distribution Method | Shady-looking ads, free programs, spam e-mail attachments and so on. |
Remove Source Add Virus
Step 1: Closing Safari (or any other browser that you may be using at the moment)
First, you will need to close your browser if it is still open. If you can’t do that normally, you will need to Force Quit it:
Open the Apple Menu and select Force Quit to do that. You can also use the ⌘ key + Option Key combination to open the Force Quit Applications dialog box. In this box, select the Safari browser (or whatever browser you are using) and then click on the Quit button. Confirm the action by selecting Force Quit again.
Step 2: Killing suspicious processes
Open Finder and go to Applications > Utilities and then open Activity Monitor. Now take a careful look at the processes there – look for any that seem suspicious, unknown and questionable. If you think that a given process may be the culprit behind the issue or may at least be related to it, highlight it with the mouse and select the i option at its top.
In the box that opens, click on Sample.
Scan the sample files with the online scanner we have on this page and if any of them get flagged as malicious, delete them and then kill their processes.
Step 3: Safely launching the browser
Hold the Shift from your keyboard and then launch Safari – holding Shift will prevent any previously opened pages to load again, just in case any of them were related to the problem.
If any problematic pages still load after you safe-launch the browser, then do the following:
Force-Quit the browser (Safari) again and then turn off your Wi-Fi connection by clicking on the Wi-Fi off option from the Mac Menu. If you are using cable Internet, simply disconnect the cable from your Mac.
Step 4: Uninstalling suspicious extensions
After you safe-launch Safari and are sure none of the previously opened pages load now, go to Preferences > Extensions.
Select and uninstall (by clicking on the Uninstall button) all extensions there that are unfamiliar to you or that you think may be suspicious. If you are not sure about a certain extension, it’s better to uninstall it – no extension is required for the normal functioning of the browser.
Step 5: Cleaning Safari
If you have other browsers aside from Safari, do the following:
In Safari, open Preferences from the browser’s menu and go to Privacy.
Select Remove All Website Data and then Remove Now. Note that this will delete all stored site data including any saved passwords and usernames. In other words, you will have to manually log-in to every site where you have a registration so make sure you remember your usernames and passwords.
Back in Preferences, click on General and see what your Safari’s homepage is. If it has been changed without your permission, change it back to what it used to be or to whatever you like it to be now.
Now go to the History menu and select the Clear History option.
Do the same to all other browsers you may have in your computer – here are examples with Chrome and Firefox.
[add_forth_banner]
Cleaning Chrome
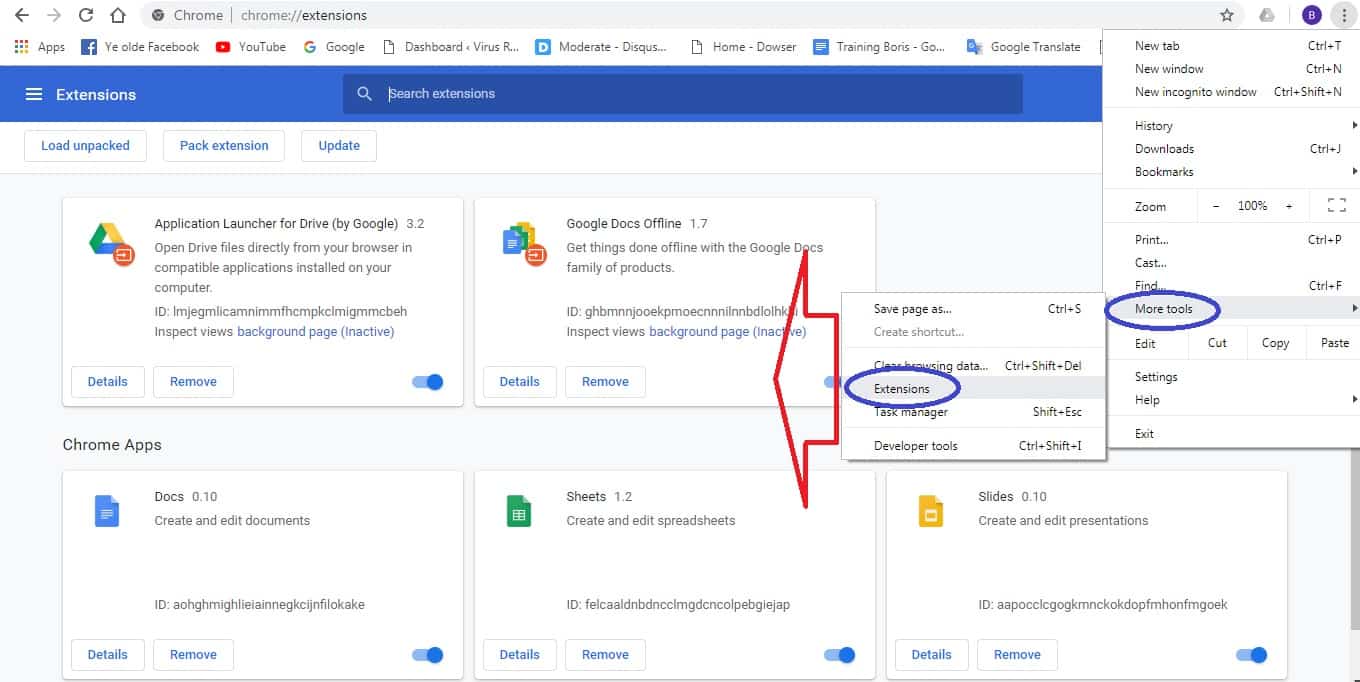
Open Chrome and open its main menu, then go to More Tools > Extensions. Click on the Remove button next to all of the extensions that you do not trust.
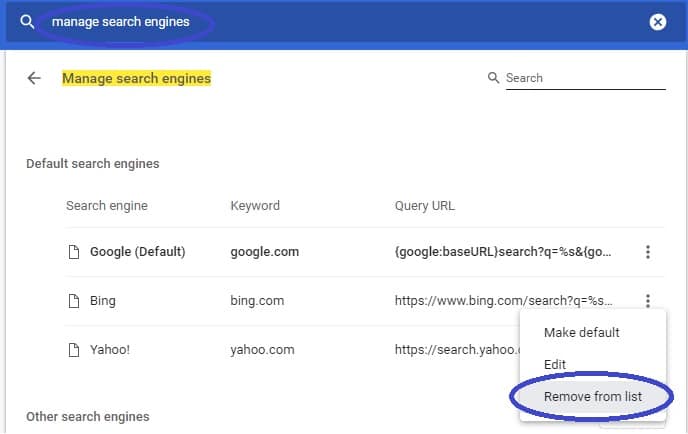
Next, from the main menu, go to Settings and type Manage Search Engines in the search bar. Open the result that shows up and then delete all search engines other than the one you normally use by clicking on the three-dot icon next to the other ones and selecting Remove from list.
Back in Settings, type Reset and clean up and open the option that shows up (Restore settings to their original defaults). Confirm by selecting Reset Settings.

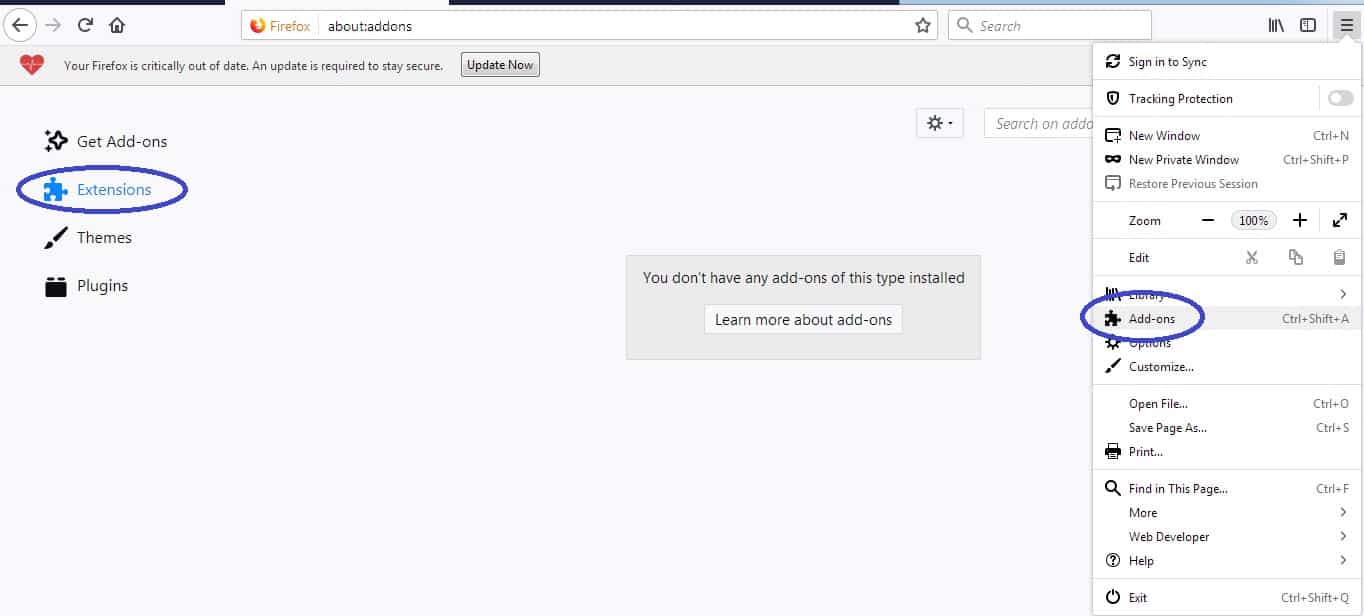
Cleaning Firefox
Open Firefox and then open its main menu. Go to Add-ons and open the Extensions menu from the left. Look at the extensions and Remove the ones you do not trust.
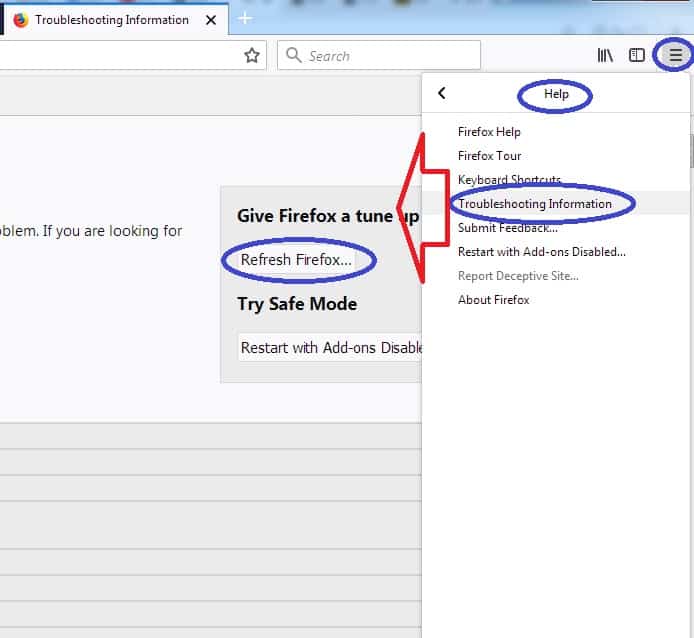
Next, open the menu again, go to Help > Troubleshooting information and in the page that opens, select Refresh Firefox and then confirm the action in the window that opens.