
Have you ever thought to yourself that it would be nice if you could add new features to your Desktop or to simple make its outlook more appealing, interesting or pleasant. Sure, there’s nothing wrong with having the default Windows outlook on your Desktop but some of you might want to spice things up a bit and this is why we have decided to dedicate the current article to a free program called Rainmeter. This application is different from most other products that we have made an article about so far. The only other similar piece of software that we have reviewed on MalwareComplaints is the Dreamscene tool which allows you to have dynamic wallpapers – if you are interested in that, you can find its review and a guide on how to use it here. Now, back to Rainmeter – this is a software tool that allows the user to add new elements (referred to as skins) to their Desktop making it more interactive, better utilized or simply more entertaining. The program is easy to use and is open source which means that both regular users and more tech-savvy customers would be able to enjoy it.
Introduction
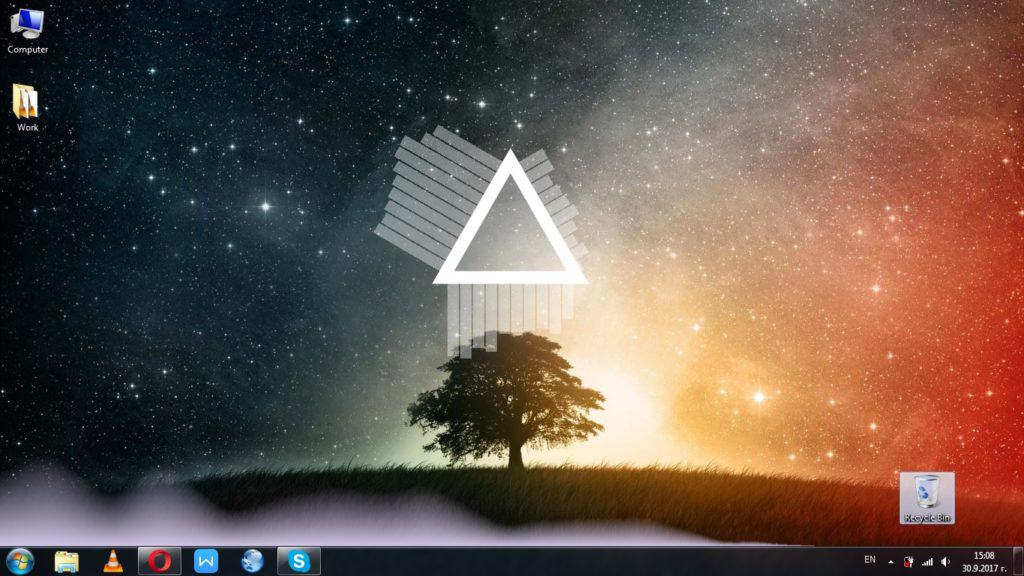
The basic premise of Rainmeter is that once you install it, it would enable you to load a variety of different skins that can serve a number of different functions. For example, some skins add a widget-like feature to your desktop such as a clock, a Google search bar, or a weather forecast window to name a few. However, there are also more complicated and sophisticated skins such as ones that serve as some sort of a Control Panel allowing you to quickly access different elements of your system such as the Computer, your media players, different sites (Google, Youtube, Facebook, etc.). The variety of the different skins is immense and it would take you quite a while to try the different types. Also, since the program is fully open source, the majority of skins are actually created by users themselves. There are a couple of sites on the Internet from which you can download and install new skins for your Rainmeter. One such website is DeviantArt, from which we downloaded most of the skins for this review. Also, on this site you can get dynamic wallpapers for the Dreamscene tool.
How to use Rainmeter
As we already mentioned, it is very easy to use Rainmeter, yet, your experience with it would be much more pleasant if you have some technical knowledge so that you would be able to modify and customize the different skins as not all of them have user-friendly interface (more on that later). The program itself is really simple to use. You download it from the official site, install it as you would with any other software and run it (from an icon added to your Taskbar). A window opens where you can see three tabs: Skins, Layout and Settings. The Skins tab is where you can see all your Skins and load the ones you like. Layout allows you to save different Skin configurations ad directly load them instead of seeking the same skins and settings again. The Settings tab offers some basic options for Rainmeter. If you want to load a Skin, simply find the one you want from the Skins tab, click on it and then select Load.
Skins
Rainmeter is all about its skins. The program itself doesn’t do much apart from allowing you to load them. However, your true experience will depend on how good the skin is. Some skins you will find more pleasing or better programmed than others as most of them are created by other users and it is perfectly normal if some of them aren’t as polished as you might want them to be. That said, there are truly some amazing and highly imaginative creations out there that can turn your Desktop into a piece of art. Here is a link to DeviantArt’s Rainmeter Skin section – feel free to explore and see what fits your preferences.
One thing to note here is that Skins are saved in .ini format – this file format can be opened via any text editor. Once you open a skin file with, for example, notepad (the default tool for opening skins), you will see its code inside. This is where being tech-savvy could help you because as skins are all open source, everyone is free to edit them however they like. You can change variables and values in order to customize the skin and make it the way you want it to be. Some of the more user-friendly skins have some sort of interface that allows the user to easily change their settings/variables without the need to access the code but this isn’t always the case. The codes for the skins are not overly complicated so it is possible for customers that do not otherwise have programming knowledge to still manage to successfully modify a skin as long as they take their time.
Managing Skins
After you download a skin, it is saved as a .rmskin file – you are supposed to run that file and click on install. Installing the skin will automatically add it to your Rainmeter library. As we already mentioned, in order to load it, all you have to do is click on it and then select Load. Later, most skins allow you to modify some of their settings by right-clicking on the skin on your desktop which opens a drop-down menu with several options. To unload a skin, right-click on it and select Unload.
Conclusion
Rainmeter is truly an interesting and entertaining tool that anyone can use. If you want to invigorate the outlook of your Desktop or add to it new and useful utilities and features, you should definitely try this program. It requires very low system resources and will run without a problem even if your PC isn’t all that powerful so if you are up for it, go ahead and give it a try.