The article below as well as the guides you will find inside it have been created to assist you in solving the “Aw, Snap” Chrome Error. The instructions below should be compatible with all versions of Chrome installed on all Windows OS types. We believe you will get your problem solved via performing the steps we have provided. Don’t forget to share your feedback – positive or negative. If you have found another successful solution for this issue, please share it so that more users could receive adequate help.
Nature of the “Aw, Snap!” Error
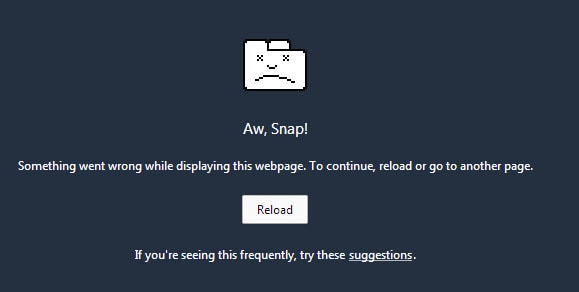
This “Aw, Snap” Chrome error normally appears when you have commanded your browser to display a web page. However, it doesn’t reach the desired website. On the contrary, in spite of the excellent Internet connection, your browser simply generates the error alert below and refuses to load the webpage you need to open.
Why does this “Aw, Snap” error appear?
In fact, the general reason for such an error is usually some temporary web page unavailability. Other possible reasons could be any browser extensions or anti-virus programs. For the users of a given Chrome book, sometimes the memory and the battery might result in such an issue. Below you will find a list of potential means of solving this problem. We hope you will find the one that helps you there.
How to get this error fixed №1: Try closing all tabs and reloading the desired website
This is probably the easiest solution. Nevertheless, this may not work in your case. You lose nothing if you try it, though.
Once you receive the error alert, there, along with the notification of failure, a reload icon will appear.
Click on it.
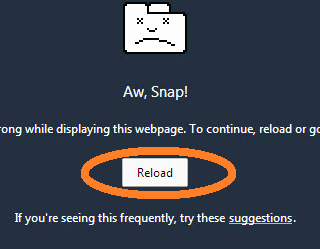
In case you cannot find such an icon along with the message, there is the same one beside the address bar of your browser. Refresh the website there.

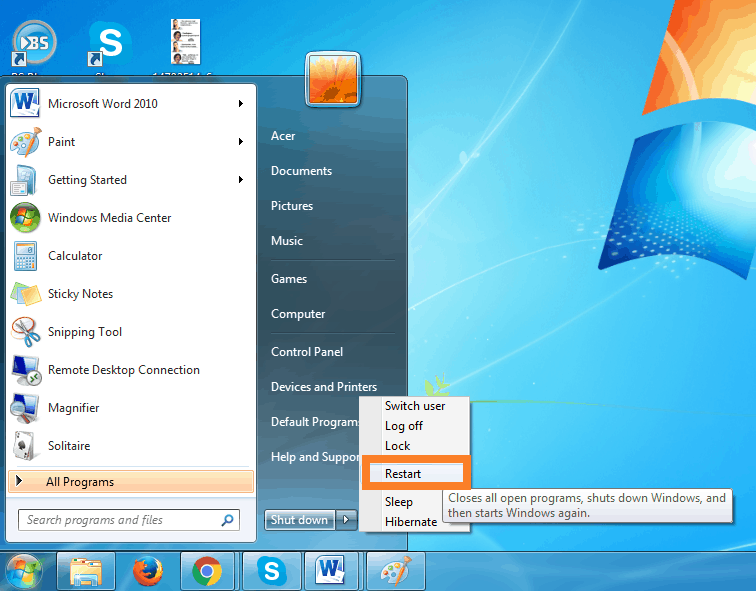
How to get that issue resolved № 2: Simply restart your PC
This is the oldest trick and one of the simplest ones. All you need to do is to close down your Chrome. Then you should go to the Start button of your PC and restart it from the available option there. Make sure you close all running processes in the normal way before rebooting. Once your device is ON again, relaunch your Chrome and see what happens. You might no longer receive an error notification.
Potential solution №3: Try removing all Apps and Extensions from your Chrome
Sometimes some extensions or apps on your Chrome browser can be the cause of the problem. Consequently, they all need to be disabled. Closely follow the instructions below to do that:
- The three horizontal lines (or three dots) are the Menu of your browser.
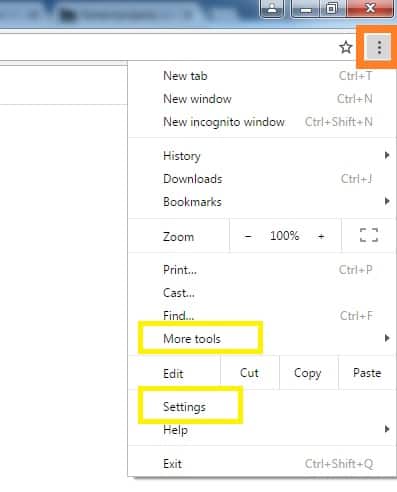
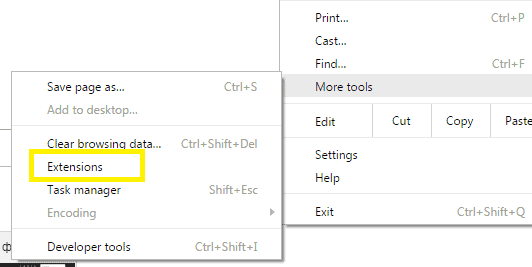
- Then go with Tools or Settings. From there proceed with Extensions. All of them must be disabled.
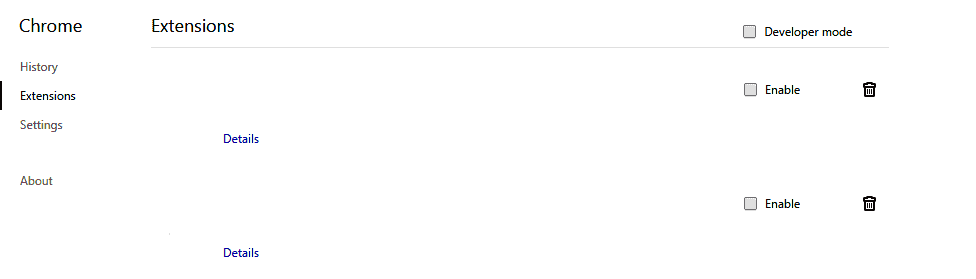
- Now your issue should have been solved. Please, check, if not, proceed with the other guides.
Fix №4: Maybe resetting to Factory settings
The “Aw, Snap!” error might be resolved by bringing back your system to its factory settings. For that purpose, select the Menu button (three horizontal lines or three dots in the upper-right corner of your browser window). Then choose Tools or Settings. After that, simply scroll down and find the Advanced Settings menu. Look for the Reset Settings option. Select it and your browser will return to its default settings from the beginning.
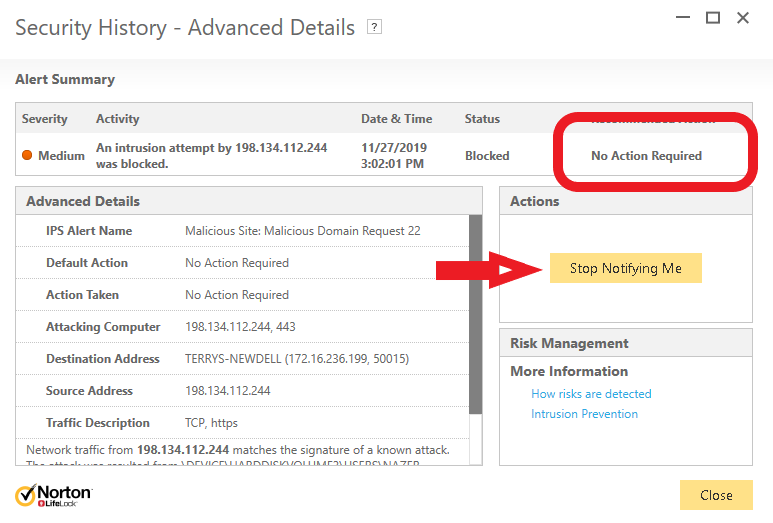
Possible solution №5: Maybe your anti-malware tool is to be blamed for that issue
First of all, you should perform a full scan of your machine for any malicious infections.
In case your system turns out to be clean, review your anti-malware or security software settings to make sure that they are not interfering with your browser. Some apps may be preventing certain websites from loading properly, while others might be stopping Chrome from reaching the web. Enlist Chrome as an exception in your program’s firewall or anti-malware settings to get this problem solved.
Fix №6: You might need to create a new profile
Sometimes creating a new profile for your Chrome browser is really all that needs to be done. For that purpose, shut down Chrome and load your file explorer. Then, press the combination of buttons Windows + E on your keyboard in order to open Windows Explorer. There type %LOCALAPPDATA%\Google\Chrome\User Data\ in the address bar. After that, simply right-click the directory, choose Rename and enter another new name (like Default Backup). In the end, boot Google Chrome and check whether the error has been resolved.